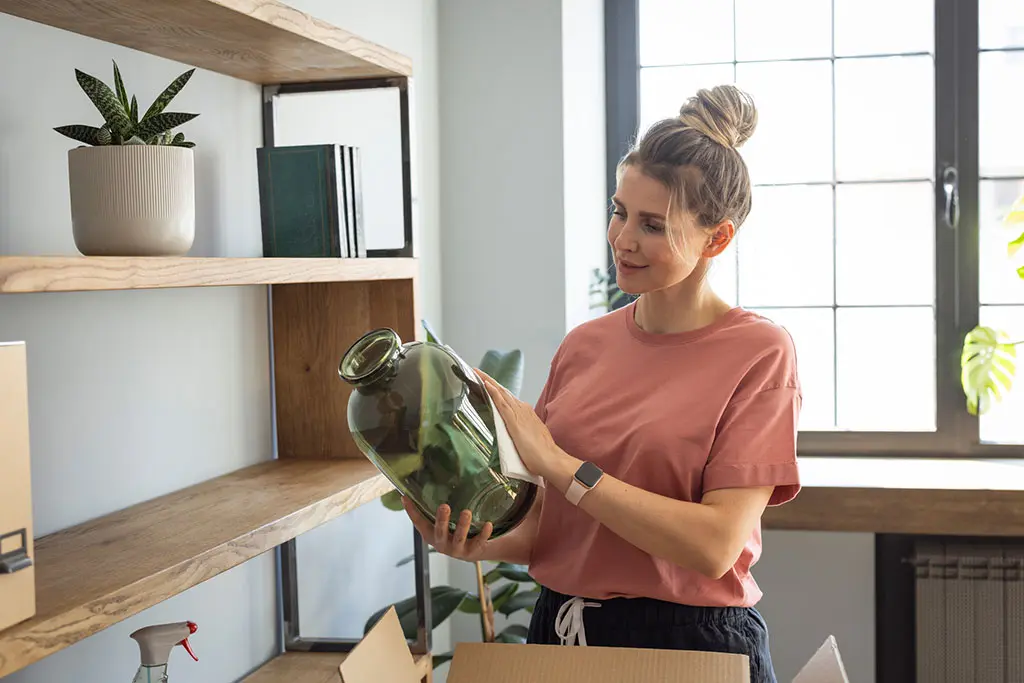
Step 1: Choose the Right Storage Unit
When it comes to knowing how to store shores, keep in mind that storage units can be incredibly harsh spaces. A typical self-storage unit will usually just consist of a bricked room or a cage. These areas are open to all sorts of environmental factors such as dust, humidity, moisture and pests. The first step in storing your shoes is selecting a storage space that will protect against these factors as much as possible. A secure storage space will include features such as climate control, as well as protection against dust and pest infiltration, which will provide you with another line of defence against damage to your shoes while they are in storage.
Step 2: Sort and Group Your Shoes
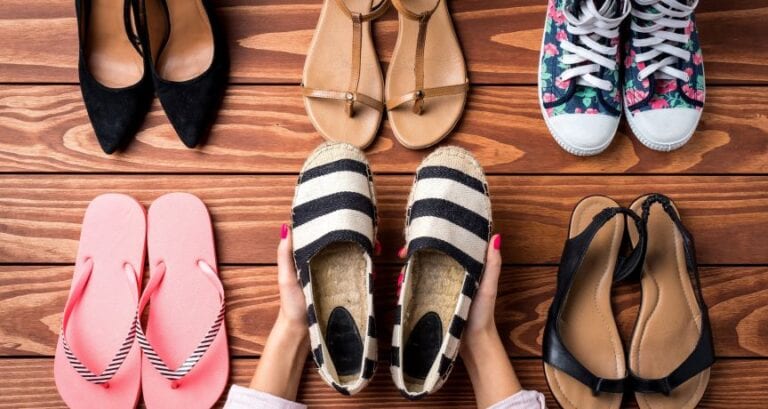
After you’ve selected your shoes’ storage unit, you need to go through your shoes and decide what you will store, and what you will sell or dispose of. While you’re going through your shoes, you need to keep in mind that the cost of your storage will be tied to the volume of your storage needs. A large collection of shoes could quickly add to your expenses, so it’s worth only keeping shoes that you use, need and love.
After you’ve decided on what you’re going to keep, you should group your shoes. The best way to arrange your shoes is by frequency of use. This will make it easier to pull shoes in and out of storage, and it will also make step 7 far easier, as you will know exactly where to place your high-priority boxes.
Step 3: Assemble High-Quality Packing and Storage Materials
No matter how sophisticated your storage space is, your shoes will face significant damage if you don’t protect them with the high-quality packing and storage materials. At a minimum, you should purchase:
Plastic tubs with clip-on lids
Packing paper
Shoebox-sized cardboard boxes
Anti-bacterial spray
Packing tape.
Step 4: Prepare Your Shoes For Packing
Before placing your shoes in long-term shoe storage, you need to prepare them. To prepare your shoes, you should:
Check all your shoes for any damage so that you can carry out any minor repairs. Fixing minor issues before placing them in storage will prevent the problem from worsening during transit and storage. If you can’t fix the damage yourself, you should take it to a shoe repair outlet and see if the cost of repair is worthwhile. If not, dispose of the shoes
Before storing your shoes, they need to be completely clean. Dirt and debris are abrasive and will damage shoes, and during storage, the dirt can spread to other shoes or turn into mould if moisture or humidity affects the space. Once the shoes are clean, spray them with an anti-bacterial spray to prevent bacteria and odour build-up
Your shoes need to be completely dry before they are placed in storage, or they will be damaged by mould and mildew. Your shoes will usually become wet during the cleaning process, so make sure you give yourself enough time to lay your shoes out in the sun and allow them to completely dry. When packing leather or suede shoes, you should insert tissue paper inside the shoe to soak up any moisture.
Step 5: Carefully Pack Your Storage Boxes to Provide Adequate Protection
The best storage container for your shoes is the original shoe box. If you have disposed of these boxes, you should invest in similarly-sized cardboard boxes. To pack each box:
Line each box with packing paper to create a soft base on which your shoes can rest
Insert balled-up packing paper into each shoe to help it maintain its shape
Wrap each shoe in packing paper, ensuring that the shoe is completely clean before you start wrapping
Place the wrapped shoes inside the shoe box and use tape to secure the lid
Place boxes in plastic tubs.
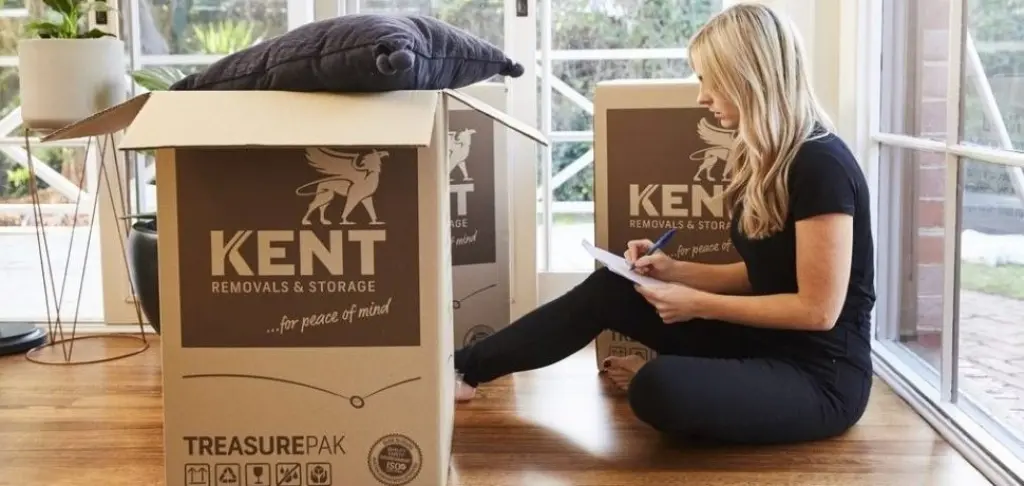
Step 6: Label Each Box and Ensure Labels Correspond With Inventory
Once your tubs are packed, use a permanent marker to label each container. The labelling needs to specific to make unpacking the space more manageable. Instead of just righting ‘Shoes,’ you should write ‘High Priority – David’s Shoes,’ or ‘High Priority – High Heels.’
You should also use a colour code system to ensure your labelling corresponds with your inventory. For example, you could affix a blue sticker on your label and highlight the item within that box blue on your inventory. This will allow you to pull shoes in and out of storage quickly.
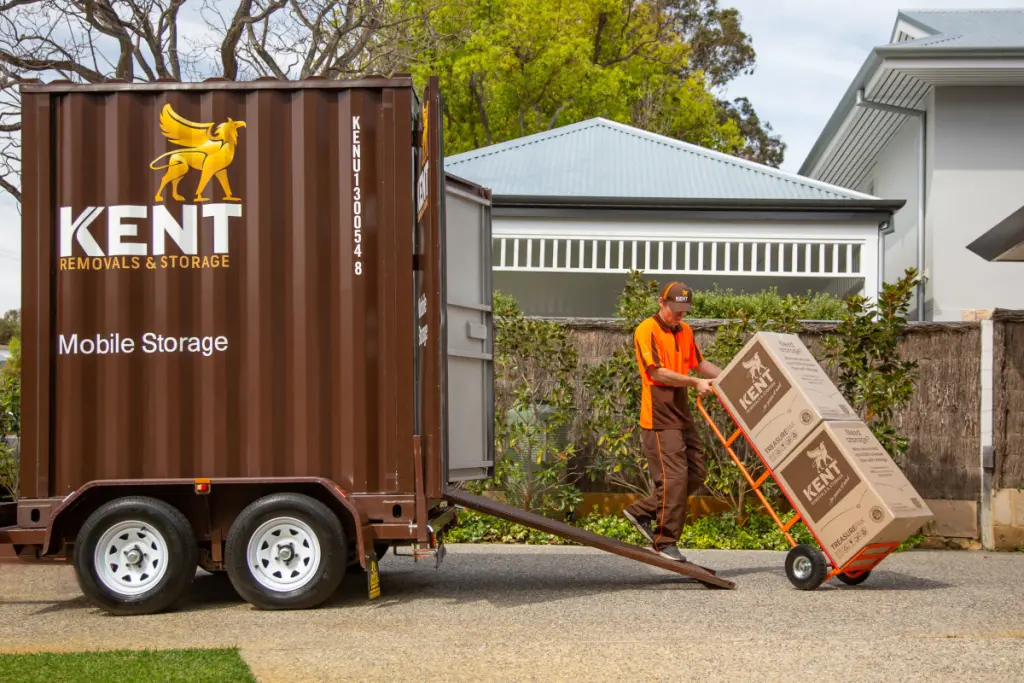
Step 7: Pack Your Storage Unit Effectively
When packing your storage unit, ensure that your high-priority boxes are placed near the front of the unit for easy access. The best part about plastic tubs is that you can stack one on top of the other without crushing or damaging the shoes inside. To make locating shoes as easy as possible, choose a section of your storage unit and devote it entirely to shoes. However, you should always stack them on top of a wooden pallet, and away from walls to prevent moisture from seeping in.
Follow these seven easy steps, and you’ll know everything you need to know about storage and shoes.
Related Blogs
What You Need to Know About Mobile Storage
When it comes to storing your treasured possessions, you want a top-tier storage experience that is…
Traditional Storage vs Mobile Self Storage at Home – Kent Storage
Traditional Storage vs Mobile Self Storage at Home Downsizing, upgrading or decluttering your home or office?…