If you want to know how to move pictures, you really need to start with how to pack pictures for moving. Successful packing will ensure the safe relocation and delivery of your pictures. Use this step-by-step guide to ensure your pictures arrive safe and sound:
Step 1: Identify potential sources of damage
Step 2: Clean your picture, or invest in professional cleaning service
Step 3: Handle and pack your picture with care, protecting against sources of damage
Step 4: Place your picture on its side, and secure it inside the moving van
Step 5: Unpack with the same care with which you packed.
Step 1: Identify Potential Sources of Damage
You need to understand all the ways in which your pictures can be damaged before you can possibly know how to pack paintings for moving. There are obvious sources of damage, like dropping the artwork or sudden impact, which can tear the surface of the canvas.
But, what you may not realise is the biggest potential source of damage is actually you. Skin contact with pictures can have a devastating impact on your artwork. The oils and chemicals in your skin and pores can create smudges, completely ruining the aesthetic of your canvas.
Other sources of damage include exposure to sunlight, extreme cold and heat, humidity, damp, dust and pests.
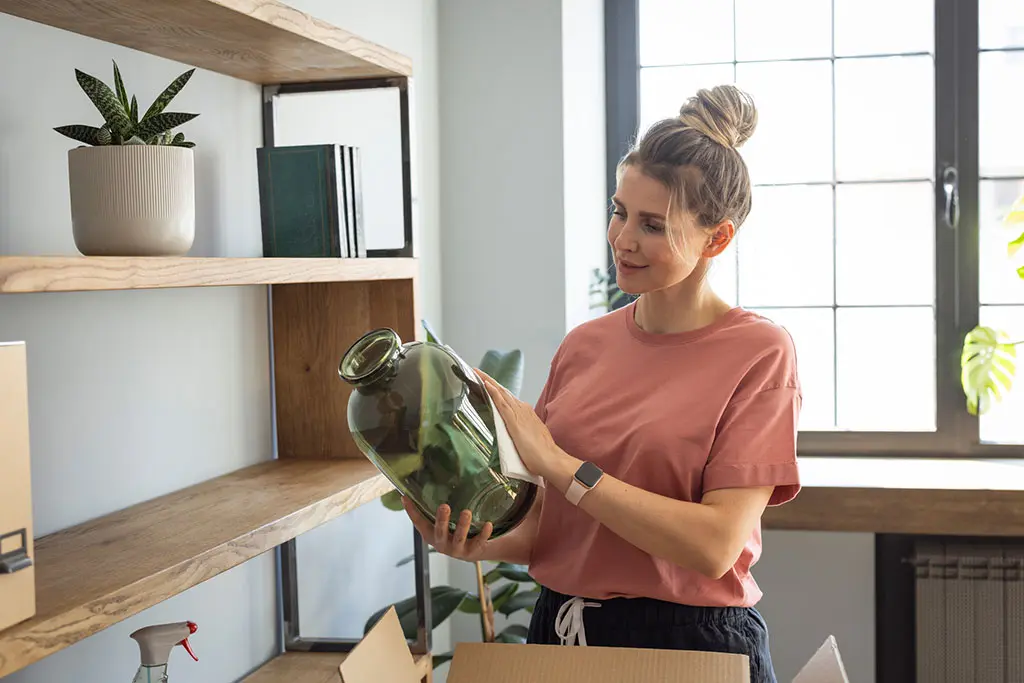
Step 2: Clean Your Picture, or Invest in Professional Cleaning Service
With enough care, you can clean your picture yourself. To do so, use a brand new, soft paint brush. This brush should be approximately 5cm in width. Place your painting on a soft surface, like a bed. With the painting titled towards you, gently brush the surface of the picture, making sure that you brush continuously in the same direction. Once complete, take a second pass across the picture, brushing in the opposite direction.
Keep in mind that, if your painting is particularly old, or extremely valuable, then you may not want to attempt to clean it yourself. If you are in doubt, it is always best to invest in the services of a professional painting conservationist. There’s nothing worse than ruining a picture you were so delicately trying to protect.
Step 3: Handle and Pack Your Picture With Care, Protecting Against Sources of Damage
So, you’ve identified all potential sources of damage. Now it’s time to reduce or eliminate them through careful packing.
A vital lesson in understanding how to pack paintings is knowing how to handle them correctly:
Always carry paintings individually—never carry stacks of paintings, even if they are light enough and small enough to do so. When paintings are stacked, they jostle about and scratch one another
Always carry paintings with two hands, rather than by the top or bottom. This method evenly distributes the weight of the painting, and reduces the chances of an entire side of your frame coming loose
Always clean your hands before handling paintings. If your painting is very valuable, you may even want to consider wearing cotton gloves
Remove all jewellery. This step is often overlooked, resulting in scratches where you least expect them.
Next up in knowing how to pack artwork is a lesson in wrapping. Eliminate the possibility of skin contact with your picture by investing in some plastic wrap, and cover your artwork entirely. Make sure that the plastic doesn’t come in contact with the actual piece of art though. For any unframed artwork, you should carefully roll it up and place it a cylinder cardboard protector.
The best way to pack to protect against other danger such as sunlight, cold, damp, humidity and impact is to first encase the painting into a Styrofoam box before inserting into a quality, double-corrugated packing box. Finally, just seal the box on ever side with some tape and mark it as ‘Fragile.’
Step 4: Place Your Picture on Its Side, and Secure It Inside the Moving Van
Now it’s time to learn the secrets behind how to pack framed art for moving: the moving van. While your paintings and pictures are safely encased, they aren’t out of danger just yet. A trip in the back of a moving van opens up possibilities for damage. If you have to slam on the brakes or make a sharp turn, there’s every chance your artwork could move and be damaged.
In light of that, you need to pack your moving van in such a way that it prevents movement as much as possible. Artwork is best moved on its side (never laid flat). Laying your picture flat may mean other items can topple into it, scratching and denting its surface. The best way to pack your pictures is in a rack formation, with pillows, blankets or heavy duty cardboard placed between each individual artwork. This way, if you do have to come to a sudden stop, your pictures will be protected.
Also give careful consideration to the items that pack nearby your pictures. Wherever possible, ensure that there is nothing heavy nearby; you don’t want heavy items toppling over or slide into your pictures during transit.
Step 5: Unpack With the Same Care With Which You Packed
Now that you’ve learned how to pack framed art, you need to know how to unpack it. While you’ve done the hard yards and you’re definitely in the home stretch, you still need to display as much care as ever.
If you’re moving into a new home, chances are you probably won’t have time to hang your artwork immediately—there’ll be a million boxes to unpack first. So, make sure your store your pictures somewhere safe, dry, dark and cool until you do have a chance to hang them. Avoid storing them in your basement or roof space (as these areas are often quite damp), and keep them out of direct sunlight, as this can quickly fade the colours in your picture.
You also need to remember the crucial rule about preventing skin contact. In your rush to unpack, don’t forget to keep your hands away from the canvas—you don’t want all of your hard work ruined by an errant finger.
Five easy steps and you’ve learned how to move paintings. Follow these easy steps, and you’ll know how to move pictures properly, giving your prized pieces of art the professional treatment they deserve.