Step 1: Clean and Vacuum the Rug
The best way to move rugs is to start by ensuring the rug is as clean as possible. By cleaning your rug first, you’ll prevent stains, dirt and odours settling into your rug while it’s rolled and wrapped; as once settled, they can be impossible to remove!
So, give the rug a thorough vacuum to remove hair, crumbs and all other general debris. Apply a liberal amount of upholstery cleaner, and let it settle on the surface of the rug to draw out dirt, stains and odours that might be a bit more ingrained. Once you’re happy that all the ingrained stains and odours have been removed, vacuum the rug thoroughly once again. Keep in mind that when using upholstery cleaner, it’s always best to follow the instructions on the label.
Step 2: Leave the Rug Out in the Sun for Half a Day
It’s a great idea to pop your rug out in the sunshine for at least half a day (even longer is great, if you have the time). Popping your rug in the sun will help to scare off any small insects or pests that might have made themselves at home in your rug.
Step 3: Roll the Rug
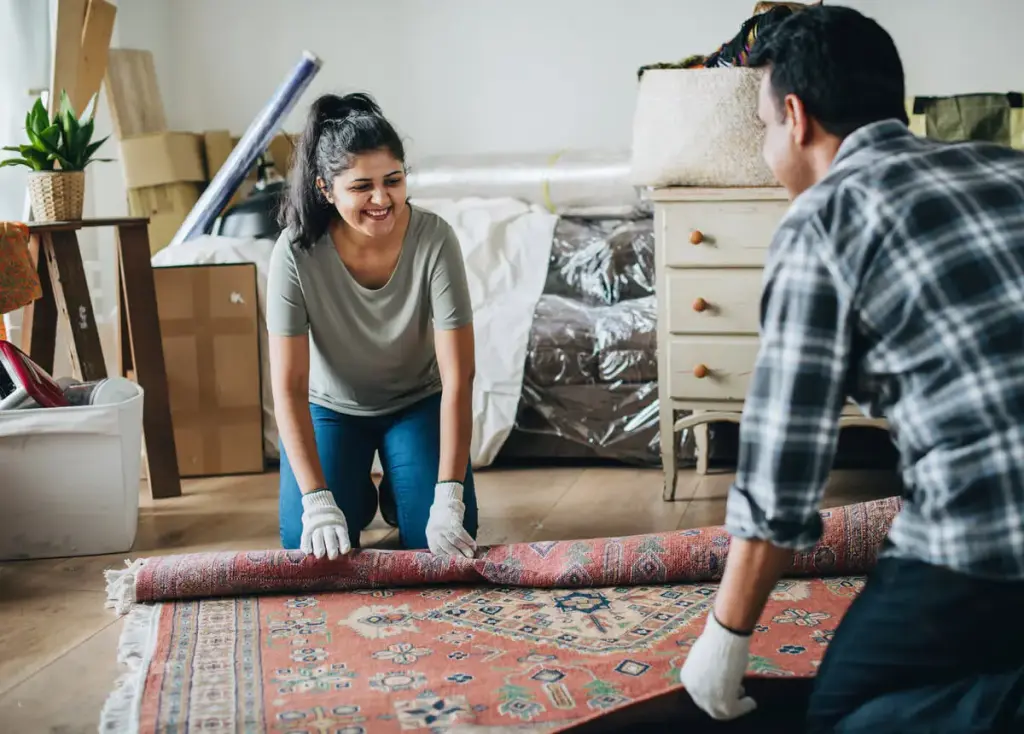
Common sense would suggest you roll your rug with the backing facing outwards to prevent damage to the ‘fluffy’ surface. Strangely enough, this is exactly the opposite of how to roll a rug for shipping. Roll your rug so that they ‘fluffy’ side is facing outwards. By rolling your rug this way, you prevent straining and damaging the backing that holds your rug together. After all, you’re going to carefully wrap the rug in protective sheeting anyway, which will prevent any damage to the ‘fluffy’ side.
If your rug is particularly large or bulky, then you might want to enlist some help from a friend or family member for this step. Rugs can be notoriously tricky to wrangle. So, rather than breaking your back, let two sets of hands make light work of this job.
Hot Tip: Whatever you do, never fold a rug. You’ll find it impossible to get rid of the crease marks once your move is finished. Plus, folding a rug weakens its fibres, as well as the backing that holds it all together.
Step 4: Tie the Rug Tightly Using Heavy-duty Twine
Twine is the stuff that farmers use to keep bundles of hay together, making it perfect for tying up your rug. Twine is perfect because it will keep the rug tightly rolled and fastened in place, without putting too much pressure on it. And you don’t want pressure on your rug—pressure can leave horrible, dirty marks all over your rug. You can find twine at arts and crafts stores, and department stores. Just make sure you get heavy-duty twine or your rug may roll out as soon as you pick it up.
If you can’t find twine, you can use rope, but make sure that the rope isn’t too abrasive, or you may damage the surface of your rug.
Step 5: Wrap the Rug in Moving Wrap, Blankets or Canvas
Knowing how to wrap a rug for shipping, involves considering how long it will be wrapped. If you’re just moving your rug from one house to another, and plan to unroll it in a short amount of time, then plastic, heavy-duty moving wrap is the perfect way to keep it protected.
However, if you plan on keeping the rug rolled up in storage for a longer period of time, then you should use either moving blankets or canvas (instead of plastic) to wrap your rug. Plastic wrap can cause condensation to build up if it is used for any great length of time, which would obviously damage your beloved rug.
If you’re using canvas or moving blankets, make sure you use some twine to fasten this protective layer of material around your rug. The closer the fit, the better the level of protection it will offer. Plus, a loose piece of canvas or a dangling moving blanket can be a major tripping hazard on moving day.
Step 6: Unroll the Rug as Soon as Possible
The longer a rug is tied up, the more chance there is that you will have to deal with curling once it’s unrolled. If, once unrolling your rug, you find that is has curled, get yourself some double-side tape (or make your own using regular tape). Using the tape, attach all four corners, and every side of your rug to the floor. This will guide your rug back into its original shape. The curl will vanish over time, so don’t panic if you don’t notice a difference right away.
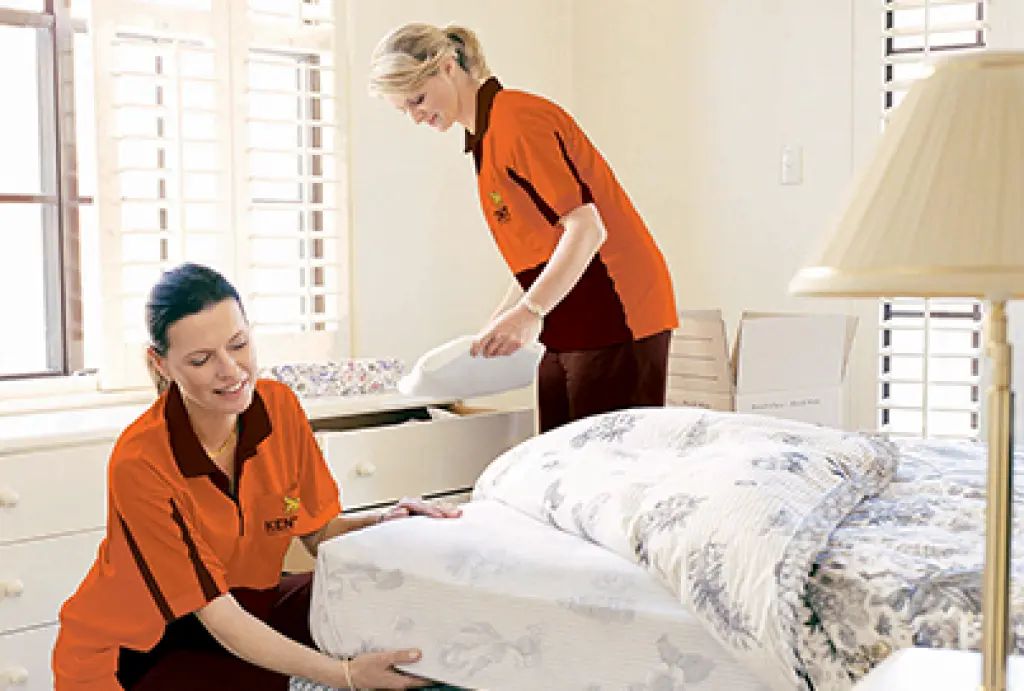
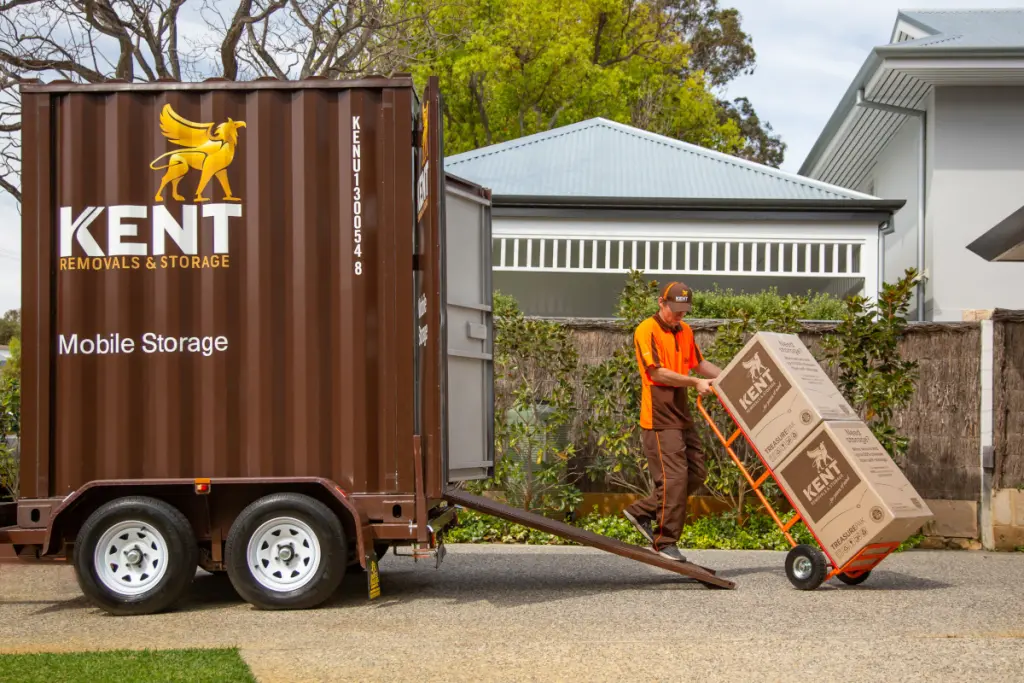
Follow these 6 easy steps and you’ll be an expert on how to move rugs. You’ll be able to unroll your rug in its new home in perfect condition. Of course, if you don’t have the time or the resources to pack rugs when moving, then you can always contact professional removalists to help.