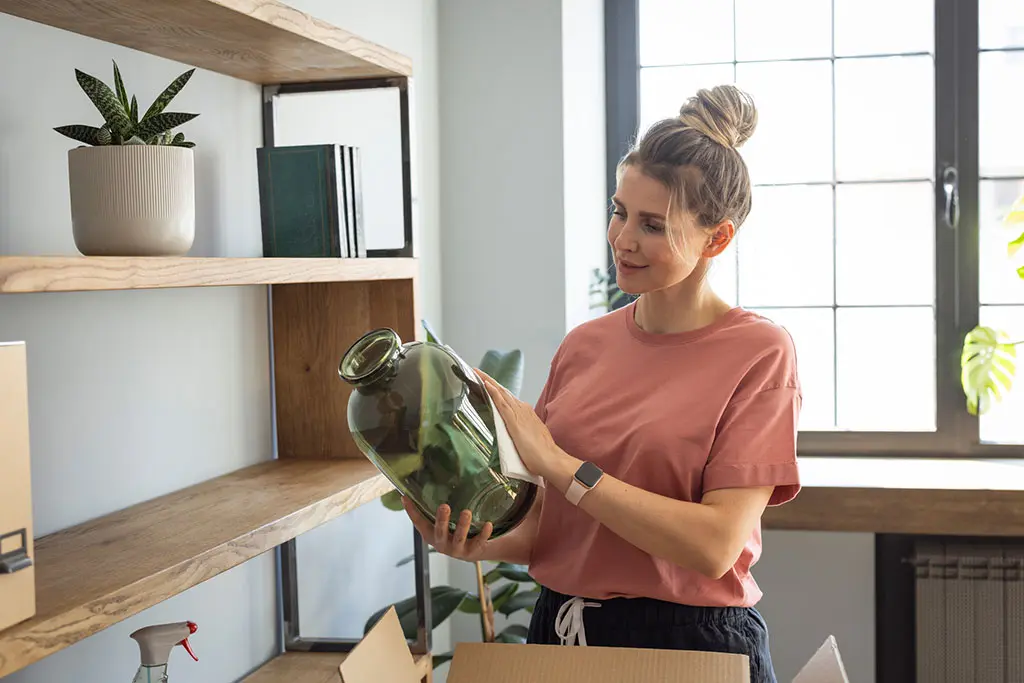
Packing shoes for moving sounds like a simple proposition, but if you don’t get it right, you could end up with boxes full of damaged shoes. If you want to know how to pack shoes for moving, you need to be prepared to put the work into preparation. This step-by-step guide will take you through the preparation process, so your shoes arrive at your new destination in perfect condition.
Step 1: Sort through your shoes and decide what you need to move
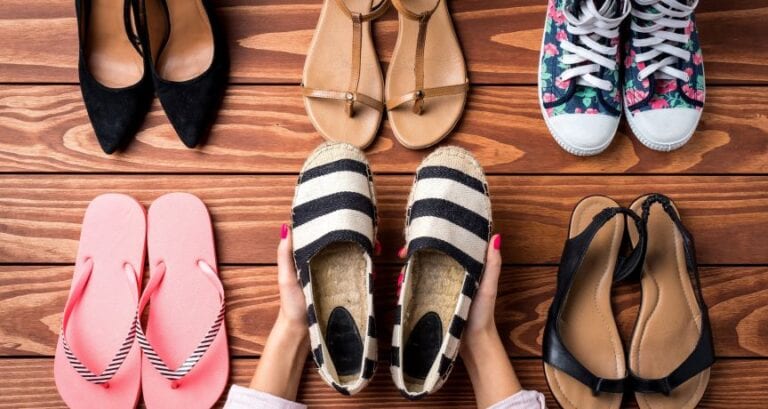
Step 2: Group your shoes according to type, size and so on
Step 3: Individually prepare each pair of shoes for packing
Step 4: Gather the appropriate materials for packing and protecting your shoes
Step 5: Start by packing the shoes you wear infrequently
Step 6: Devote time to packing each pair of shoes with the appropriate technique
Step 7: Label each box with detail
Step 1: Sort Through Your Shoes and Decide What You Need to Move
When packing shoes for moving it’s vital that you sort through your shoes and make tough decisions on what you will pack and move. The cost of your move is directly tied to the volume of your goods. So, if you’re packing shoes that you no longer need or use, or even packing shoes that have fallen into disrepair, you’ll waste a lot of money. When sorting through your shoes focus on:
Disposing of shoes that are worn out or damaged
Selling or donating shoes that you no longer wear for various reasons
Thinking about what your new life will look like, and which shoes may not fit in with this new life.
The ‘One Year Rule’ is always good to keep in mind: dispose of any pairs of shoes that you haven’t worn in a year. It’s a great way to remove the indecision that can sometimes arise when you’re trying to declutter. Aside from sentimental pairs of shoes (such as those you wore at your wedding), anything that you haven’t worn within the last 12 months is superfluous. Sell, donate or throw them away.
For more hints, read our How to Declutter Before Moving Checklist.
Step 2: Group Your Shoes According To Type, Size and So On
Once you have created a definitive list of the shoes you will be taking with you, begin sorting your shoes into categories. This is the best way to pack shoes for moving as it allows you to group similar shoes in one box for ease of unpacking. You can arrange your shoes into various types, including:
By size, such as long shoes (like knee-high boots) and wide shoes (such as hiking boots)
By type, such as runners, high heels, thongs, boots, dress shoes, and so on
By frequency of use (this could be the most useful method if some of your shoes will be placed in storage)
By material (if you have lots of leather shoes, try to group these together to prevent damage)
Step 3: Individually Prepare Each Pair of Shoes for Packing
For the best results when packing shoes for a move, you should devote care and attention to each pair. To prepare your shoes, you need to:
Check your shoes for any damage and carry out any minor repairs. Not only will this save you from having to complete these repairs at your new address, but it will also help prevent any further damage. You can also take damaged shoes to a local repairer and decide if the cost of repairs is worth it. If not, that’s another pair you don’t have to worry about packing
Thoroughly clean your shoes. Dirt or debris is abrasive, and if it rubs during transit, you risk damaging other shoes. Focus on the soles, where pebbles are often lodged
Never pack wet shoes. You need to check that your shoes are completely dry before they are packed. To prevent packing wet shoes, it’s a good idea to clean them at least 24-hours before packing and leave them out in the sun to dry. For moisture sensitive shoes, such as leather or suede, you can use crumpled up tissue paper to absorb any remaining moisture
Once your shoes are clean and dry, place crumpled paper inside each shoe to help maintain their shape. Your shoes will face some pressure during transit, and you don’t want to go to all the effort of preparing and packing only to find that your favourite pair of boots has completely lost their shape.
Step 4: Gather the Appropriate Materials for Packing and Protecting Your Shoes
The best way to pack shoes starts with the right packing materials. If you’ve completed step one, it means that the shoes you are packing are precious, and most likely, significant investments. If you want your shoes to arrive at your new address in the same condition they left your old house, you need to purchase the following at a minimum:
Packing paper
New, double-corrugate moving boxes
Quality packing tape
Permanent marker.
Don’t be tempted to recycle packing materials. Old boxes, newspaper and plastic bags will all damage your shoes, not protect them. It’s especially important that you don’t pack your shoes in plastic bags, as the bags don’t provide any structural support, and if the bag is subject to any heat, it can melt and ruin your shoes.
Step 5: Start By Packing The Shoes You Wear Infrequently
When it comes to packing shoes for moving, it’s always best to start as early as possible. Obviously, it’s difficult to start too early because you still need to wear your shoes in the lead up to the move. However, you can start by packing the shoes that you wear less frequently (another reason why grouping your shoes in terms of frequency of use is a good idea).
For example, if you’re moving during summer, you can start by packing the heavy shoes you only wear in winter. Or, you could start by wrapping shoes that you just wear for specific occasions, such as dress shoes, snowshoes or sporting shoes. Time is the enemy of anyone trying to pack with care, so any head start you can find will be useful.
Step 6: Devote Time to Packing Each Pair Of Shoes With the Appropriate Technique
The best method for packing shoes is to wrap them in packing wrap, stuff them with packing wrap and place them in their original boxes. If you have disposed of the original boxes, you should use a similarly-sized box and follow the same technique.
You can then place each box inside a medium-sized moving box for a quicker, and easier move. Just remember to reinforce the bottom of your moving box with plenty of packing tape and only fill the box to the point where the top flaps can be securely closed. Heavier shoes should be placed at the bottom to create a balanced box and prevent crushing.
Don’t be tempted to fit more in each box by just throwing in individual pairs of shoes. Without the protection of an individual box, your shoes could get crushed and damaged. When you place the boxes inside the moving truck, be careful not to put a heavy box on top of your shoe boxes.
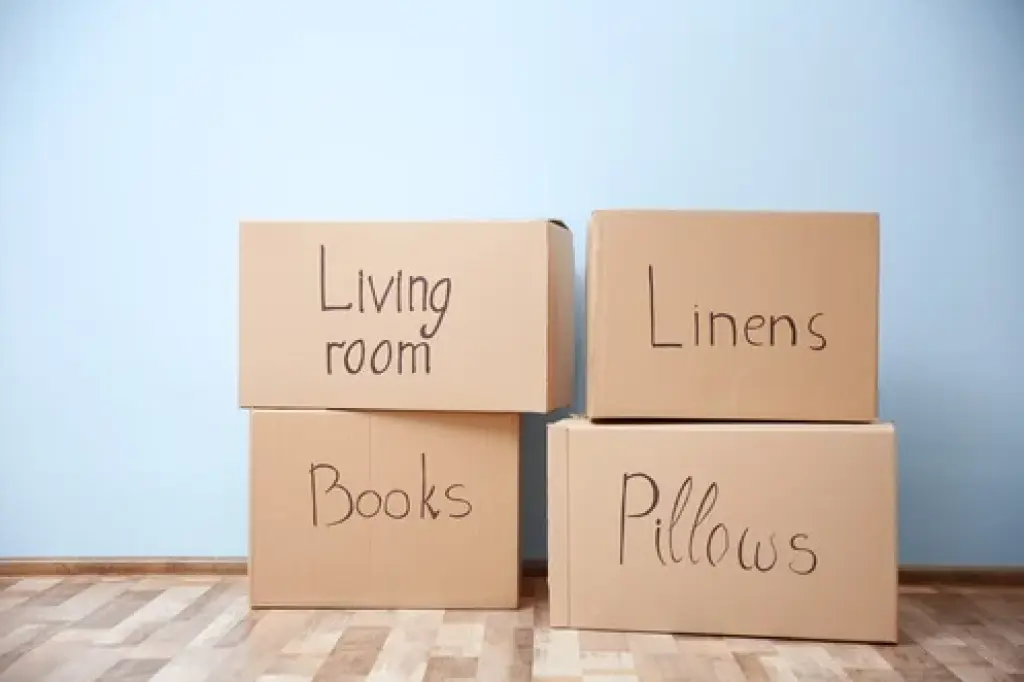
Step 7: Label Each Box With Detail
Once your boxes are packed, you need to take your permanent marker and label each box with enough detail to make the unpack easier. If you just write ‘Shoes’ on each box, you’ll have to unpack every box just to find one pair. So, when labelling make sure you include the contents (such as ‘Dress Shoes’), location (such as ‘Ben’s Room) and priority (such as ‘High Priority’).
So, there you go. Seven easy steps and you’ve unlocked the secrets behind how to pack shoes for moving. Of course, if you don’t have the time to go through this list, you could always make use of our packing service and give your shoes the first-class packing treatment they deserve.