Understanding how to pack pots and pans for moving is essential. Your pots and pans may seem sturdy enough, but you’ll be surprised at how much their performance can be affected by even the tiniest scratch or dent. If you love cooking, chances are you’ve invested significantly in your pots and pans, so you want them to survive the move. Luckily, after 70-years in the industry, Kent Removals & Storage has learnt all the tricks on the best way to pack pots and pans. Just follow this step-by-step process for packing pots and pans:
Step 1: Sort through your cupboards and choose the pots and pans you want to move
Step 2: Clean and dry your pots and pans prior to packing
Step 3: Gather high quality packing materials
Step 4: Set up a flat, clear packing space
Step 5: Carefully wrap and your pack pots and pans
Step 6: Label each box
Step 7: Pack and transport your moving boxes with care
Step 1: Sort Through Your Cupboards and Choose the Pots and Pans You Want to Move
If you’ve lived at your old address for an extended period, there’s a strong chance your kitchen cupboards have become cluttered. We tend to purchase pots and pans for specific purposes, without disposing of old and damaged items. Packing pots and pans correctly takes time, so you only want to devote energy to the pots and pans you will actually use at your new address. By decluttering your kitchen cupboards, you’ll also save money on your removal by reducing the volume of the goods you need to move.
Step 2: Clean and Dry Your Pots and Pans Prior to Packing
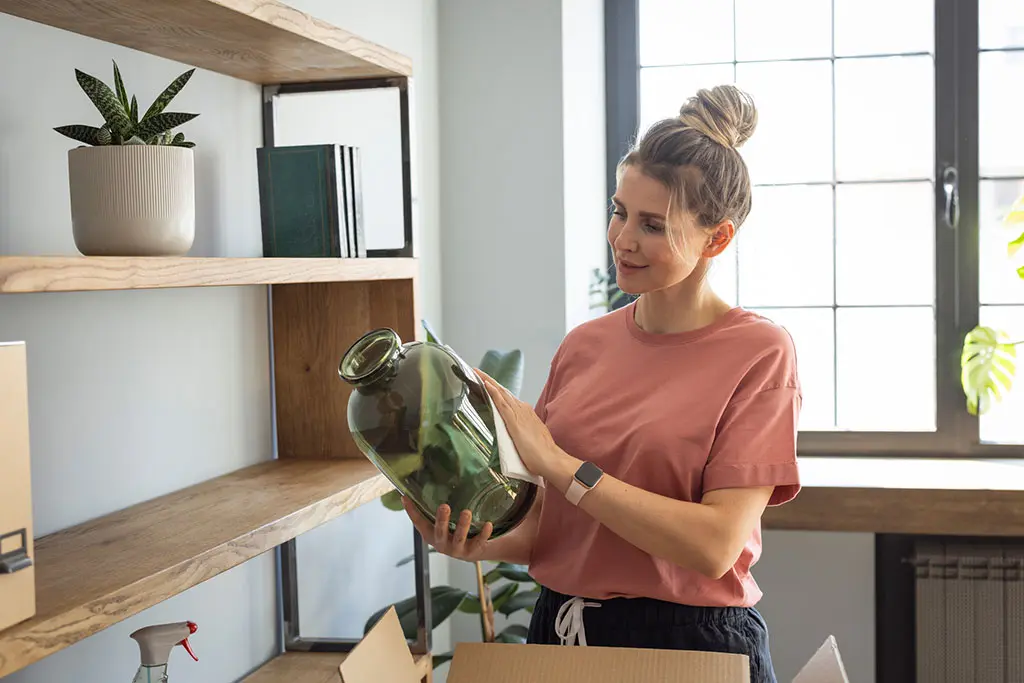
Moving house is the perfect time to give all your pots and pans a thorough clean. The most important aspect of cleaning pots and pans is to ensure they are completely dry before packing. It’s a good idea to wash everything at least 24 hours before you want to pack them, and then leave them on a drying rack overnight. Moisture during a short-term move can damage other household items and, in a long-term move that involves storage, you could even end up with mouldy pots and pans.
Cleaning your pots and pans also gives you a chance to inspect them for any damage or missing pieces. There’s no point going to the effort and expense of preparing and packing pots and pans that aren’t performing at their optimum.
Step 3: Gather High Quality Packing Materials
Investing in quality packing and moving materials will give your pots and pans the best moving experience. You need to purchase the following:
Medium sized double-corrugated moving boxes
Heavy-duty garbage bags
Packing tape
Permanent marker
Packing paper
Bubble wrap
Step 4: Set Up a Flat, Clear Packing Space
You need a flat, clear space to pack efficiently. Taking the time to set one up will save a lot of hassle and frustration further down the track. Your kitchen bench, dining table or work desk are all ideal spaces. Once you have cleaned the space, ensure that all relevant packing materials are within reach, so you don’t have to leave the area once you’ve started.
Step 5: Carefully Wrap and Pack Your Pots and Pans
Your pacing procedure will be dictated by the scale of your move. For a short-distance move, garbage bags are the ideal vessel, as they make packing and unpacking quick and easy. However, if you are moving over a long-distance, where your goods may be placed in storage, you should put pots and pans inside a moving box.
Short-term move procedure:
Nest clean and dry pots and pans within each other
Place nests within garbage bags
Secure garbage bags
Long-term move procedure:
Reinforce bottom of box with packing tape
Use bubble wrap or packing paper to line moving box
Place nests of pots and pans in each box
Encase any glass lids or sections with bubble wrap
Only fill each box so the top can be easily and safely-secured with tape
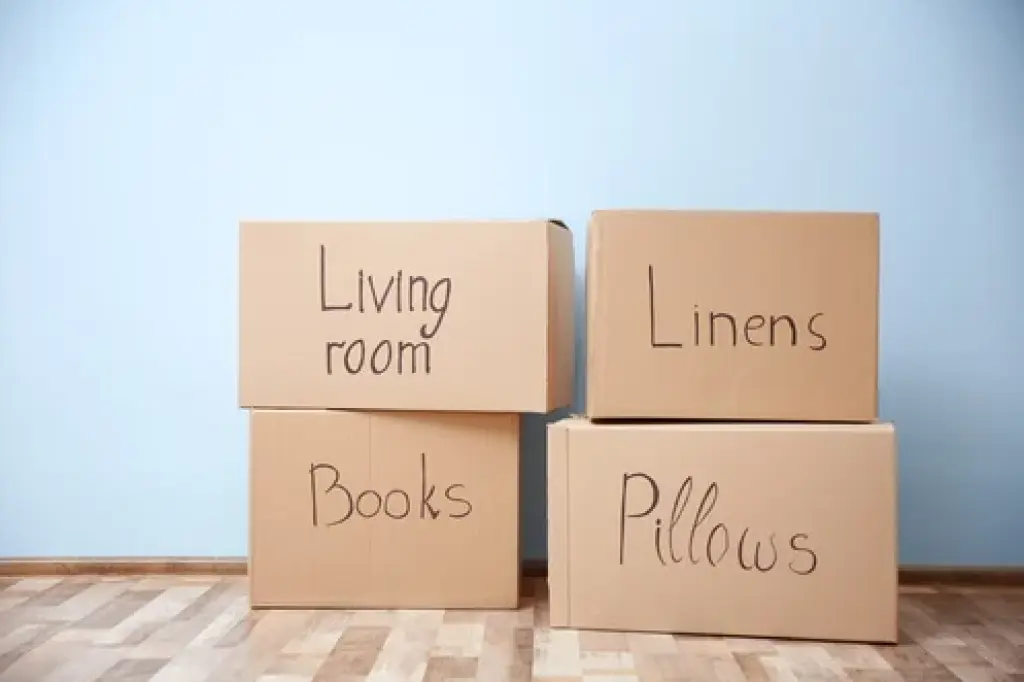
Step 6: Label Each Moving Box
No matter how far away you’re moving, you need to label your bags and boxes. Accurate labelling makes locating and unpacking items easier. Your labelling needs to be more specific than just writing ‘Kitchen’ or ‘Pots and Pans,’ particularly if you have a lot of pots and pans. For example, you could write ‘Casserole Dishes,’ or ‘Frying Pans.’
Step 7: Pack and Transport Your Moving Boxes with Care
When it comes to loading your pots and pans on to the moving vehicle you need to focus on limiting movement as much as possible. You also need to place them away from any heavy objects that could topple or shift during transit. Never stack anything on top of boxes or bags containing pots and pans, and place them beneath sturdy objects such as tables, or overturned couches for extra protection.
When loading and unloading pots and pans, only carry them alone if it is comfortable to do so. Trying to remove something that is too heavy is not only dangerous, it also increases the chance of damaging objects and property.
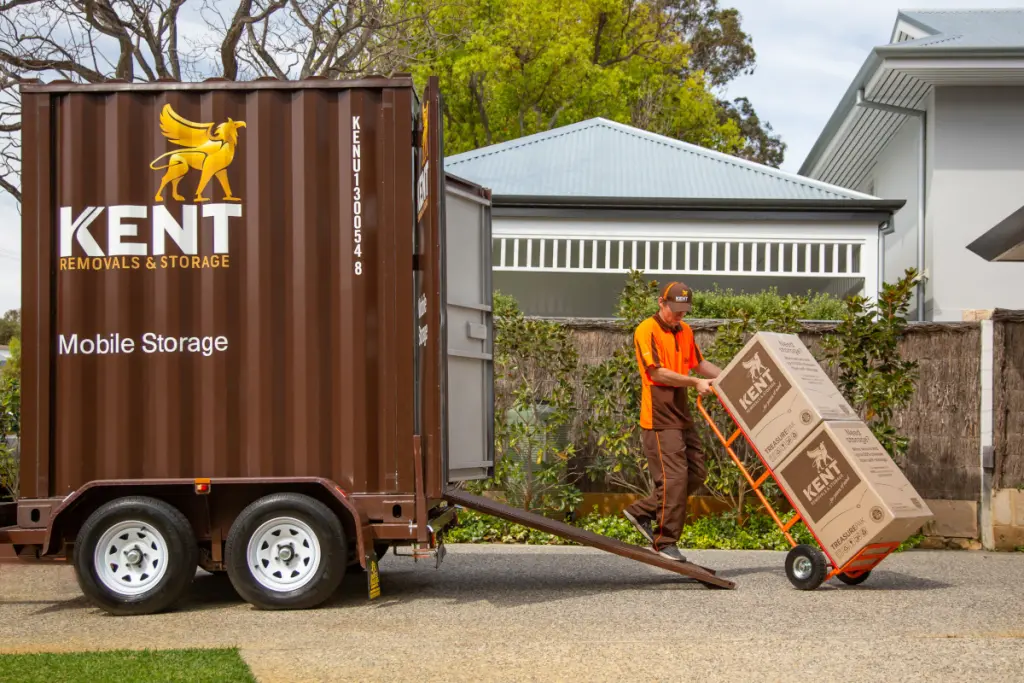
Follow this procedure, and you’ll know everything you need to know about packing pots and pans when moving. It’s all about gathering the right materials and putting in the requisite effort. Of course, if you’re running out of time and you’re worried about getting everything done before the big day, get in touch with the friendly team at Kent Removals and Storage. We offer an end-to-end service that will ensure everything is wrapped, packed and transported to your new address on time and stress-free.