Knowing how to pack electronics for moving can save you a lot of money. Electronic items are fragile and they can break if not packaged correctly.
Bbest way to move electronics:
- Step 1: Find the original packaging
- Step 2: If you can’t find the original packaging, assemble the right packing materials
- Step 3: Pack electronics individually
- Step 4: Prepare your moving boxes
- Step 5: Place electronics into your moving boxes
- Step 6: Seal and label your moving boxes
- Step 7: Load the moving truck safely and securely
Step 1: Find the Original Packaging
The first step in how to pack electronics for moving is taking the time to look around your home or office for the original packaging. This means the actual box or packet your electronic items came in. Hunt down as many as you can find – this packaging is designed to protect your electronic items best.
Step 2: If You Can’t Find the Original Packaging, Assemble the Right Packing Materials
Walk around your home or office and record which items are being moved. This will help you know roughly how many moving boxes are required. If needed, you can purchase new moving boxes from a removalist. Medium sized boxes are best for electronic equipment; large boxes often become too heavy and break. Kent removals has a specialised Electronics-Pak featuring a solid structure designed specifically to protect audio and electronic equipment in storage and transit.
You will also need these packing supplies:
Professional removalists packing paper
Bubble wrap
Packing tape and a tape gun
Original packaging for electronics or Kent’s Electronics-Pak’s
Zip ties
Electronic items are sensitive to movement and shock. If a component moves the wrong way, the whole item can stop working. The packing materials above will be used to soften the trip in the moving truck.
Step 3: Pack Electronics Individually
The best way to move electronics is by packaging each device separately for added protection. Here is how to pack electronics individually:
Before moving the device or disconnecting cords, take photos of it using your smartphone. Make sure you photograph where the wires connect on the device, and on the wall. This will save you a headache later. When you unpack the device, you can use the photos to plug it back in correctly.
Roll up the device’s cables. Secure them with zip ties or rubber bands.
Place any small parts related to the device (like remote controls) in a resealable bag. If the move is long, remove batteries and place in a separate container. It is also a good idea to remove printer cartridges and similar items too. This will avoid unwanted spillage.
Place your electronic items inside their original packaging. If you’ve thrown this out, simply wrap the device in the bubble wrap, covering it twice over. Use tape to stick the bubble wrap down. If you don’t have the original packaging, locate Kent’s Electronic-Pak to place your device in.
Tape any resealable bags to the electronic device if needed, or place them all together in one moving box later.
Note: most people don’t keep the box for large items like televisions. If this is you, ask your Kent removals expert to arrange a Plasma-Pak to protect your LCD, plasma or widescreen TV while in transit.
Step 4: Prepare Your Moving Boxes
Next, prepare your moving boxes. If you’re learning how to pack electronics for air travel, this is particularly essential. To prepare your moving boxes:
Construct your moving boxes. Stand the first one up and fold it out. Arrange the flaps on one end and tape it down. Use a criss-cross of tape to make it stronger. If the box is carrying a heavy item, add additional layers of tape.
Take your packing paper and scrunch pieces into loose balls. Place these inside the box to form a soft bed of paper. Bubble wrap can also be used for this step. Doing this allows the box to absorb movement and protect the contents from sustaining damage.
Step 5: Place Electronics into Moving Boxes
The best way to move electronics is with heavier items first. Placing larger electronics on the bottom is also recommended. This makes the moving box stronger and protects lighter items. Pack your boxes tightly and be careful not to overfill it. If it’s hard to lift, you risk physical injury as well as damage to your devices. Fill in the spaces as you go with more scrunched up paper for padding. Alternatively, you can use soft household items like sheets or cushions in the gaps.
Step 6: Seal and Label Your Moving Boxes
An important part of knowing how to pack electronics for shipping is making sure it’s sealed securely. Reach for your packing paper and scrunch up more balls. Add these on top of your items in the box. This promotes protection above if the boxes end up stacked. When done, shake the box lightly with your hands to check for movement. If you see or hear any, it means you need to add more padding. The tighter your box is filled, the stronger it is.
When done, close the box flaps and seal it off with the tape gun. Use a criss-cross pattern like you did on the bottom. Add more layers of tape if the box is particularly heavy. Use a marker to write the contents on the side of the box, as well as the room it came from. This will make it easier to organise on the other side. Finally, don’t forget to label it as ‘fragile’.
Step 7: Load the Moving Truck Safely and Securely
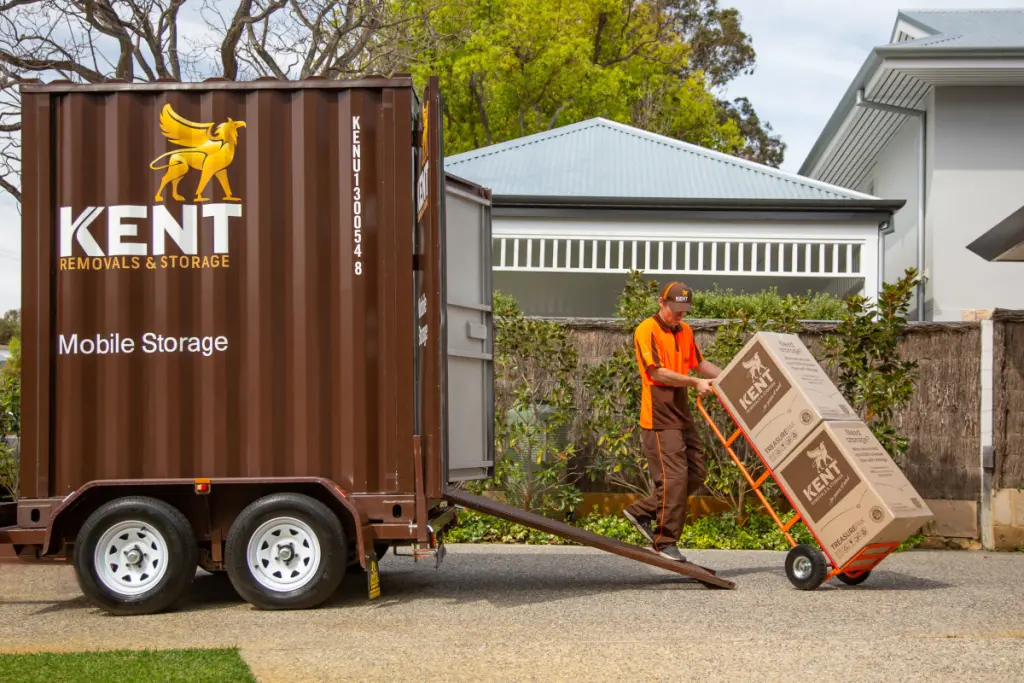
Go slowly when moving boxes with electronic equipment. Stack your heaviest and largest boxes on the floor of the truck. Add lighter ones on top, the same way you did when packing your boxes. Don’t stack boxes with electronics too high to avoid them falling. If you are moving furniture, slide your electronics boxes underneath and in-between tables and chairs. This will give them added protection in the truck.
This is how to pack electronics for moving them safely. If you follow these steps your computer, television and other electrical equipment will arrive safe and sound. And if you want some help, you can always call the professionals at Kent to tackle it for you.
Other ways we support you
Kent will take care of packing, unpacking, cleaning, secure storage and even setting up your new home, leaving you to settle in stress-free, with ease.

Ready to make your move?
From packing to getting you settled in, Kent can handle every part of the process.
Talk to us to see how we can tick all the right boxes.


