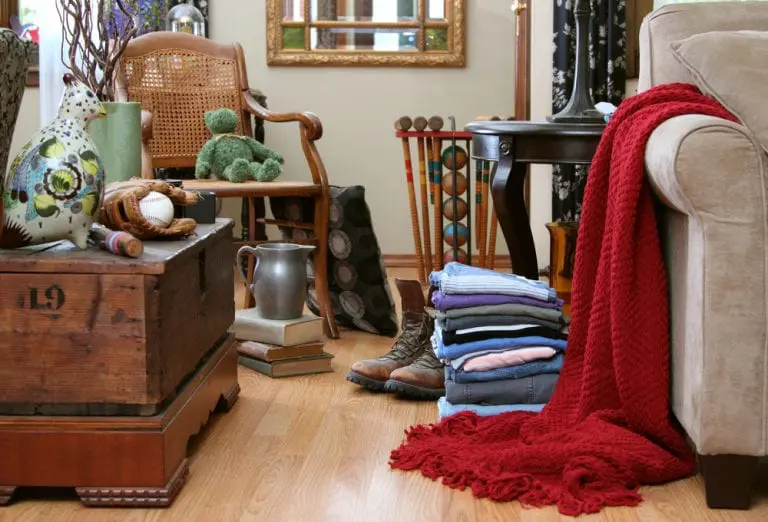
List of items you will need:
Scissors
Painter’s Tape
Packing Tape
A Large Blanket
Twist Ties
Gloves
Now that we have the required items let’s move on to the process:
Moving a grandfather clock requires care and attention at all stage of the process. To make sure you are properly prepared we have put together a list of items you’ll need and guide for each step of the process:
List of items you will need:
Scissors
Painter’s Tape
Packing Tape
A Large Blanket
Twist Ties
Gloves
Now that we have the required items let’s move on to the process:
Find and open the access panel, which is more often than not found on the side of the grandfather clock. Once removed, place it to one side in a safe place.
The weight holding cables need to be identified and secured in a way to maintain tensions. This can be done with either styrofoam blocks supplied with the clock or using newspaper. If you are using the latter you need to make a dense and tight square roughly two inches in diameter. Once you have made this you will need to hold the square above the weights. The next step is to wind the weights up one at a time until they become jammed against the newspaper square of styrofoam block. By doing this you have prevented the cables from becoming entangled once the weights have been removed.
Get your twist ties to the ready for this next step. If your grandfather clock has a chain mechanism you will need to bring the weights up to the midpoint of the clock. Use the twist ties to secure the chains together. You will want them positioned just below the movement. This will prohibit the chains from being removed from the sprocket. Make sure your twist ties are tight!
Before removing the weights with your gloves on, you’ll want to take note if the clock’s weights are marked left, center and right. If not, take note which one is which and once removed label them for reinstallation later. For grandfather clocks that use chain weights, you will need to secure them by grasping them from the bottom and working your way up to the top, keeping them together along the way. Once removed, carefully wrap them in the newspaper and secure the package with tape.
Most pendulums use a hook mechanism to attach it. If this is the case then very carefully move the pendulum slightly upwards to unattach it from the hook. You will next need to secure the pendulum guide so that it cannot freely move during the move. You can do this by stuffing newspaper either side of the mechanism.
You will now want to reattach the access panel and secure it from the inside using tape. Double check that it is secure and that there is no risk of it opening during the move.
Use a blanket to cover every side of the grandfather clock. It might be helpful to ask for a second pair of hands to secure the blanket with tape as it is being wrapped. Make sure it is secured at the top middle and bottom.
Now that all of the above steps have been completed you are ready to move the grandfather clock to its new location. Depending on the age of the clock you will need to move it in a different orientation. If it is an older clock you will need to move it upright to protect the movement. If it is a newer clock then you may also move it with it’s back facing the ground.
If you need any other moving tips, then checkout our ultimate moving house checklist or contact us today!
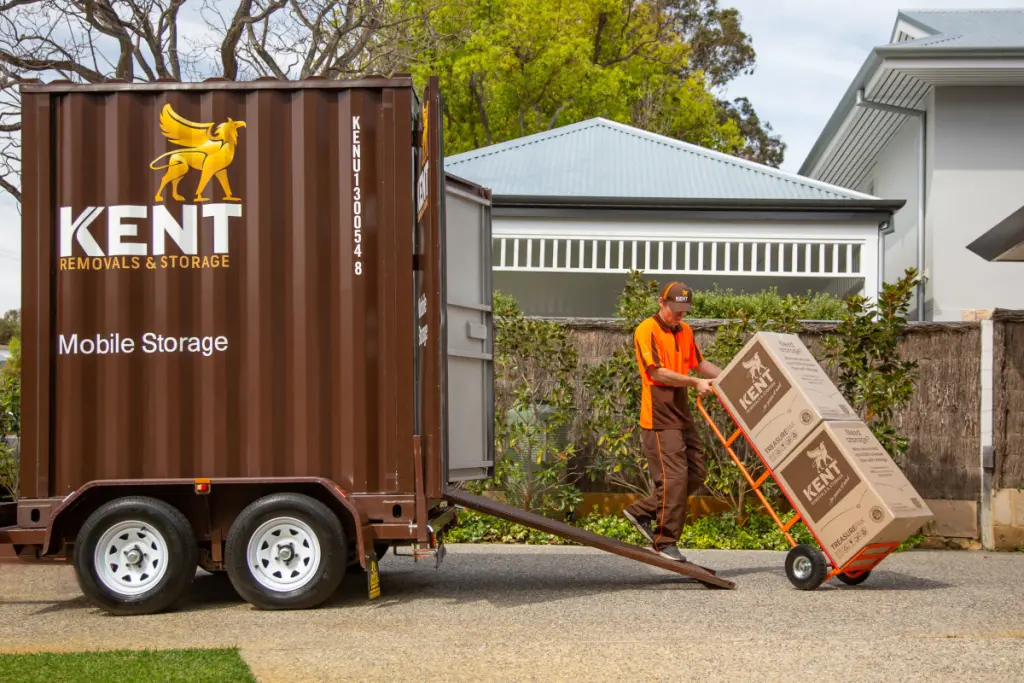
Kent will take care of packing, unpacking, cleaning, secure storage and even setting up your new home, leaving you to settle in stress-free, with ease.

From packing to getting you settled in, Kent can handle every part of the process.
Talk to us to see how we can tick all the right boxes.
Restarting will clear all your current responses and take you back to the beginning.
Are you sure you want to continue?
Moving interstate or overseas? We offer up to two weeks of secure storage at no extra cost—giving you time to find your new home without the pressure.
Storage options
Customer service
Facility access hours
Storage options
Customer service
Facility access hours
Storage options
Customer service
Facility access hours
Storage options
Customer service
Facility access hours
Storage options
Customer service
Facility access hours
Storage options
Customer service
Facility access hours
Storage options
Customer service
Facility access hours
Storage options
Customer service
Facility access hours
Storage options
Customer service
Facility access hours
Storage options
Customer service
Facility access hours
Storage options
Customer service
Facility access hours
Storage options
Customer service
Facility access hours
Storage options
Customer service
Facility access hours
Storage options
Customer service
Facility access hours
Storage options
Customer service
Facility access hours