Step 1: Measure Doorways & Openings
The last thing you need when moving an oven is finding that it cannot fit through one of the doorways at your new home. Grab a measuring tape and take the measurements of all doorways and openings your oven will need to pass through at the new location.
Step 2: Disconnect The Oven
Just to be clear, we advise that a specialist deals with this aspect of the oven removal. It is a potentially dangerous task, particularly with older models.
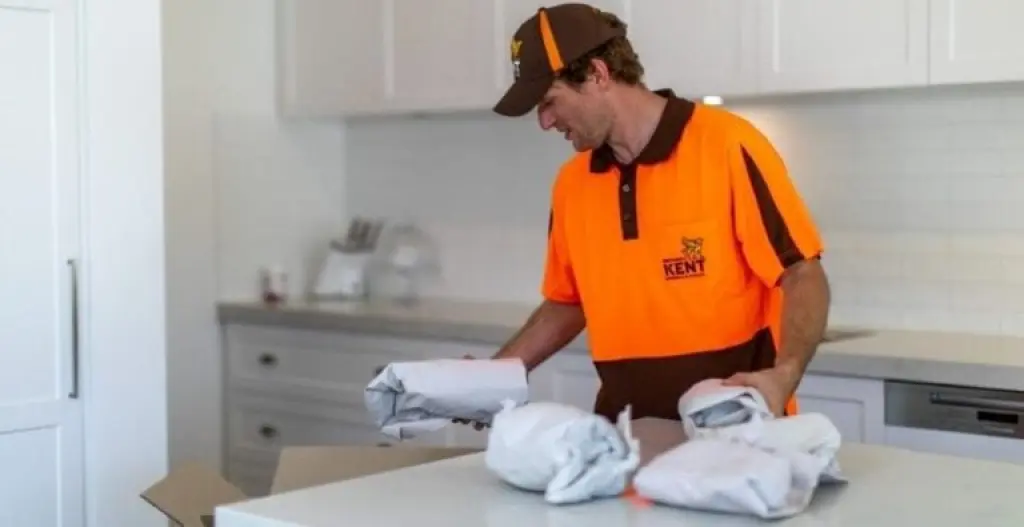
Step 3: Clean the Inside of The Oven
There are a number of methods that will effectively clean an oven. Depending on the current state of the oven, different methods work better than others. For ovens that only require a light clean, we would recommend a store-bought oven cleaner for a less chemical approach, use baking soda, water and vinegar solution.
Step 4: Disassemble the Oven
Remove any parts of the oven the can become loose and potentially lost during the move. Things like oven grates, temperature dials, and gas taps should be removed and packaged up in a separate box, and labeled accordingly.
Step 5: Secure the Oven Door Shut
One of the more delicate parts of an oven is the door, particularly doors with a glass window. If the door has a glass window, protect it inside and out with a layer of polystyrene. If there are any other panels or opening that could become open, make sure they are also secured shut.
Step 6: Wrap With Bubble Wrap
For ovens that have an exterior that could become dented during the moving, it’s best to go with an initial layer of bubble wrap to prevent any dents and dints. While wrapping, make sure to cover the polystyrene protecting the window.
Step 7: Cover With Blanket
The last stage of protection is a blanket. This will not only add an additional layer of protection for the oven but will also help protect anything that is stacked next to the oven during transit.
Step 8: Attach Moving Rollers
Moving roller will make moving an oven much much easier. Moving rollers allow you to winch up and slide under each corner of the oven. With moving roller you will be able safely and easily roll the oven to the moving vehicle without damaging the floors.
Step 9: Ask For Help
Moving an oven is hard work and require a bit of technical knowledge to safely disconnect it from the home. If you are not 100% confident, then reaching out to a professional moving company can make the process a whole lot easier.
~
For more helpful articles covering moving tips tools click here, alternatively, one of our experienced, trusted and professional moving experts are here to speak to you today! Just call 1300 193 922.